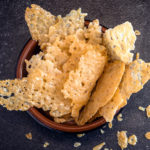
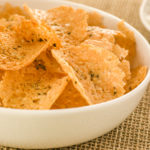
Homemade cheese chips are a popular low-carb snack for good reason. They are quick and easy to make in the microwave, and they can be customized with different seasonings to suit your needs.
When you decide to eat a ketogenic diet, one of the challenges is finding good snack options. The good news is that you can make keto cheese crisps whenever you are craving something salty with a crunch.
Sure, pork rinds can also be a great and easy snack, but sometimes you want something that reminds you more of a real traditional chip.
That's where cheese crisps can come to your aid.
Low-Carb Cheese Chips Made Easily
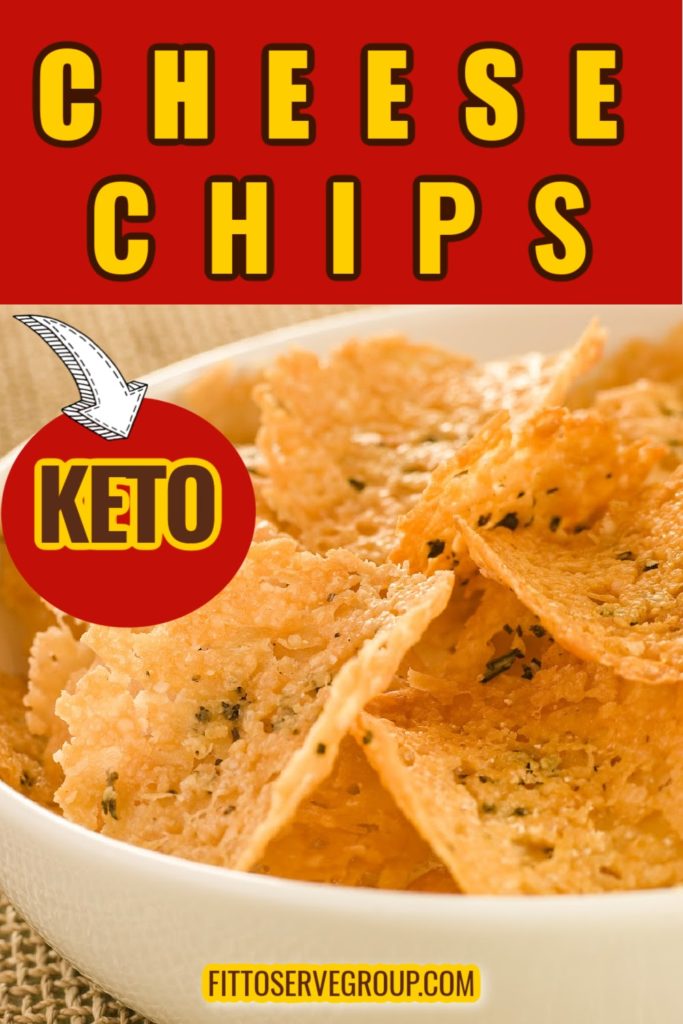
Personally, I love making them in the microwave because you have a very satisfying snack in just two minutes.
This makes it a convenient snack option for those who are short on time.
Plus, they are a snack that's full of protein and will keep hunger at bay longer as they are low in carbs and high in fat.
Ingredients And Tools Needed
You can use just about any cheese, but the results will differ depending on the type. Hard cheeses like Parmesan, Romano, Asiago, etc., will make a crisper chip, whereas cheddar will be a little more pliable.
If you use slices of cheese, cut them into 1-inch pieces; for shredded cheese, use about one tablespoon for a chip-size option.
Remember that soft cheeses such as cream cheese, goat cheese, or others in the same class will not work. They are not a good choice for a crunchy snack.
Semi-hard cheeses work best for cheese crisps, as their water content will be low and will allow them to crisp up properly.
Having said that, I have played around with a combination of cheeses for more variety. My favorite is using a mix of cheddar cheese or Colby cheese and grated parmesan. The sky's the limit.
Favorite Cheeses For Cheese Crisps
- Cheddar cheese, white or yellow (thin slices or shredded) for cheddar crisps
- Shredded parmesan cheese (for parmesan crisps)
- Asiago
- Monterey Jack cheese
- Colby Jack
- Pepper Jack cheese thin slices or shredded)
- Mozzarella cheese (shredded)
- Thinly sliced packaged cheese of your choice
To make keto cheese crisps in the microwave, you will need the following tools:
- Microwave-safe plate
- Parchment paper
- Cheese grater if shredded cheese is not an option and you prefer to use small heaps of cheese instead of thin slices to make the chips.
- Spices (optional)
Make sure to use a microwave-safe plate and parchment paper to prevent the cheese from sticking to the plate.
Additional Flavorings
To add some extra flavor to your cheese crisps, you can add some herbs or spices to the cheese before microwaving.
Some popular options include garlic powder, onion powder, cayenne pepper, chipotle powder, dried Italian seasoning, and Everything Bagel Seasoning, to name a few.
Be careful not to add too much seasoning, as it can overpower the cheese flavor.
Step-by-Step Microwave Cooking Process
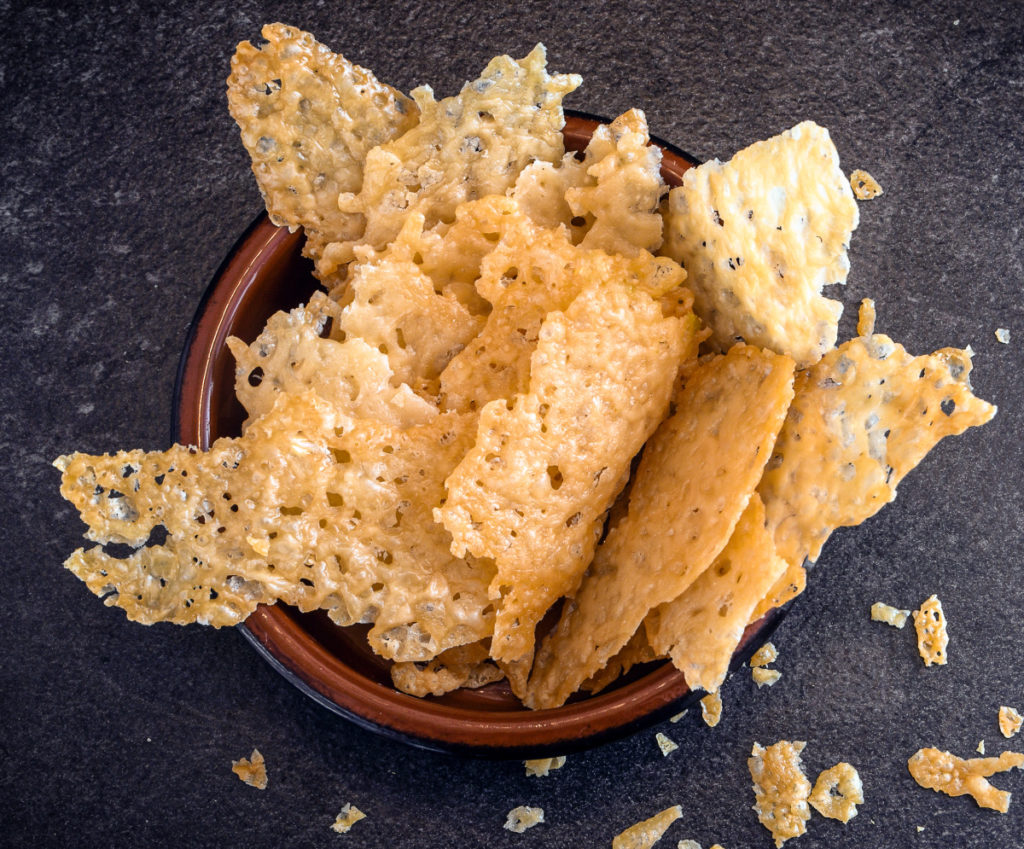
Once you choose your cheese, turn it into chips and have it sliced thinly if needed. The next step is to place it on a parchment-lined microwave plate.
It's important to leave some space between the cheeses as they expand as they cook.
Then, microwave the cheese slices on high for 45-60 seconds until the edges are golden brown. Check the cheese and continue microwaving in 10-second intervals until the cheese is melted and bubbly.
You might want to test a couple of slices to find the best time for your microwave. If making these in the microwave, you can't skimp on not using parchment paper.
Otherwise, you will get just melted cheese and not crispy chips.
Note that the full printable recipe card is at the bottom of the page.
Cooling And Crisping
Once the cheese is melted and bubbly, remove the plate from the microwave and allow it to cool for a few seconds until it is no longer bubbling.
Note that when they first come out of the microwave, you must let them sit for a few seconds until they harden; it only takes a moment to seize up.
Using a spatula, carefully remove the cheese slices from the plate and place them on a paper towel. Blot the cheese slices with a paper towel to remove any excess oil.
Finally, let the cheese crisps cool and crisp up for a couple of minutes before serving.
Would you like to save this?
Following these simple steps, anyone can make delicious keto cheese crisps in the microwave in just a few minutes.
Serving and Storage Tips
Best Ways To Serve Cheese Chips
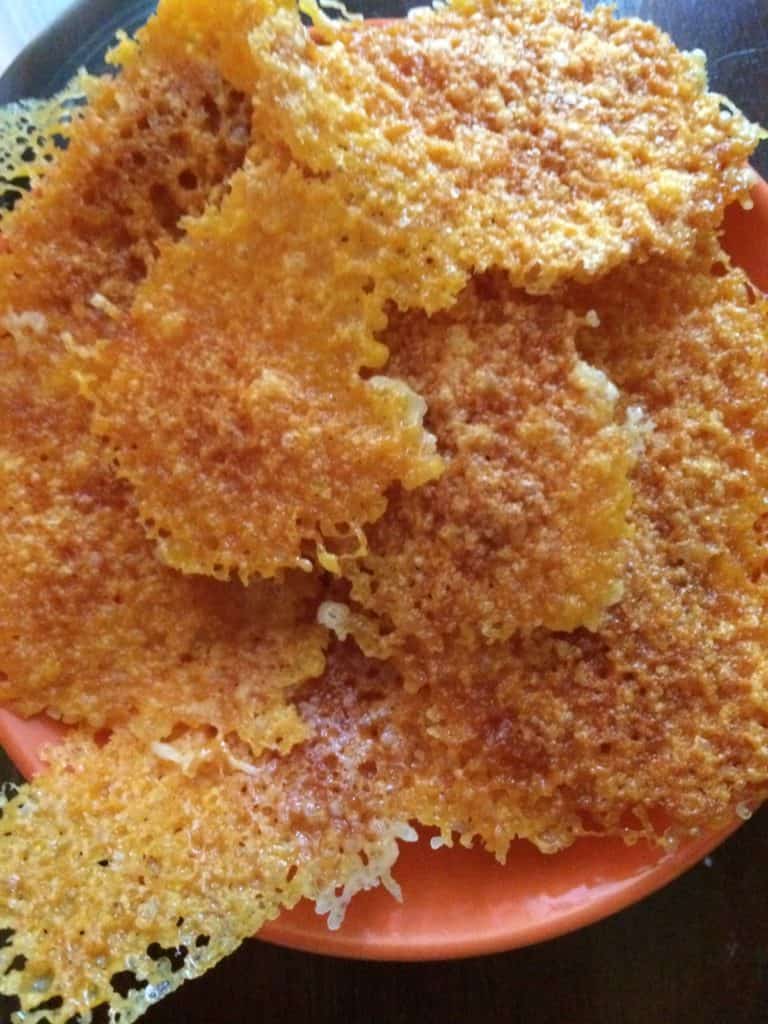
Keto cheese crisps are a versatile snack that can be served in several ways. Here are a few suggestions:
- As a standalone snack: Cheese crisps can be enjoyed as a standalone snack. They are perfect for munching on while watching TV or reading a book.
- As a salad topping: Cheese crisps can add a crunchy texture to your salads. Simply break them into small pieces and sprinkle them on top of your salad.
- As a dipper: Cheese crisps can be used as a dipper for guacamole, salsa, or any other keto-friendly dip, like our keto millionaire dip.
Storing Your Cheese Crisps
Proper storage is essential to keeping your cheese crisps fresh and crispy. Here are a few tips:
- Store in an airtight container: Once your cheese crisps are cooled, store them in an airtight container for up to three days. This will help prevent them from getting stale.
- Avoid storing in the fridge: Cheese crisps stored in the refrigerator can lose their crispiness. It is best to store them at room temperature.
- Re-crisp if needed: If your cheese crisps lose their crispiness, you can re-crisp them in the microwave for a few seconds. Place them on a paper towel and microwave them for 5-10 seconds until they are crispy.
Cheese Chips For A Taco Shell Alternative
You can even make "taco" shells by melting the cheddar cheese and draping them onto a wooden handle or rolling pins as soon as you take them out of the microwave.
For "taco" shells, use several tablespoons of cheese and microwave for three or so minutes. The time will vary depending on your microwave.
Trust me, after a cheese chip, you will never need a potato chip again. Enjoy!
Disclosure: Some of the links below are affiliate links, meaning at no additional cost to you, I will earn a commission if you click through and make a purchase.
Consider visiting our Amazon Store for recommendations. You might be surprised by how many great keto options are at your disposal.
In case you don't know, we have authored two books for you, Essential Keto Bread and Essential Keto Desserts, both inspired by your requests over the years.
Join Our Jesus And Keto Movement
Looking for an online support system to help you stay on keto? As a family, we came to the keto diet, looking at it from a Christian perspective. As believers, we live our lives supported by God's grace.
So when the Holy Spirit led us to combine our Christian faith and the keto diet, we did so in hopes of finding lasting transformation. When we followed the Holy Spirit's prompting, we got on the path to real transformation.
Knowing firsthand the benefits of this decision, we have created a closed Christian group that is using the keto diet to transform their lives.
We invite you to join our Private Facebook Group and see if it's not the key you have been missing.
Be sure to request our FREE Jesus and Keto E-Book (First 7 Days). We hope it blesses you.
Fittoservegroup Keto App
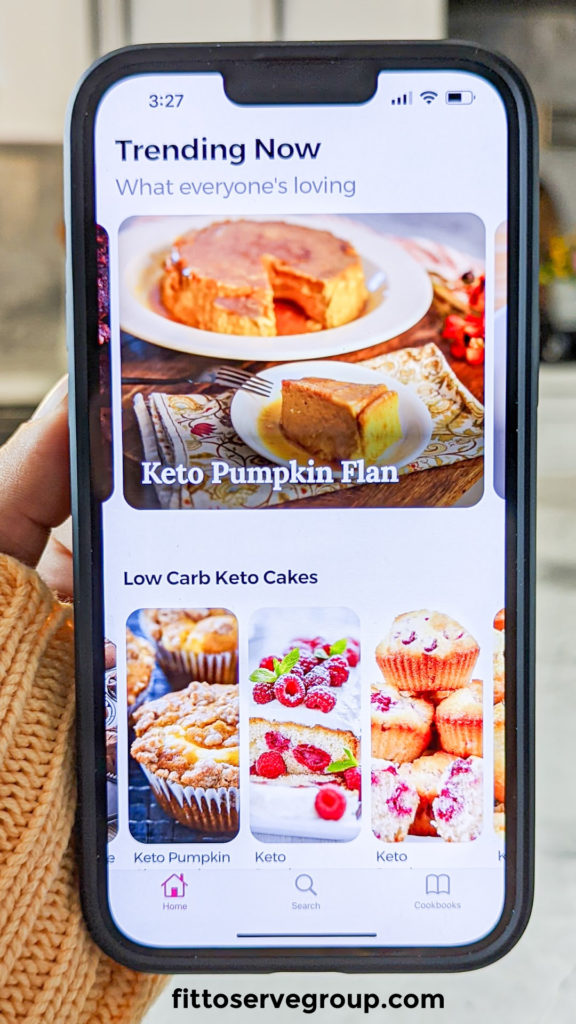
Looking for a fast way to access our keto recipes? We've got you covered. There's an app for that. Yup, there's a Fit To Serve Group App that will make your keto diet a delicious breeze!
Access hundreds of recipes that are all sugar-free, gluten-free, and keto-friendly.
Enjoy early access to recipes on the website before they go live. Plus, there are bonus recipes that are exclusive to the app.
Make your own personal cookbooks that you can use to organize your favorite recipes.
You can search recipes by title, ingredients, keywords, and categories. Of course, every recipe shows complete nutritional facts.
Get the Fit to Serve Group App for easy-to-follow keto recipes made with easy-to-source ingredients.
The app is loaded with hundreds of yummy recipes for breakfast, lunch, dinner, snacks, and even desserts!
Learn more by visiting our Fit To Serve Group App Page.
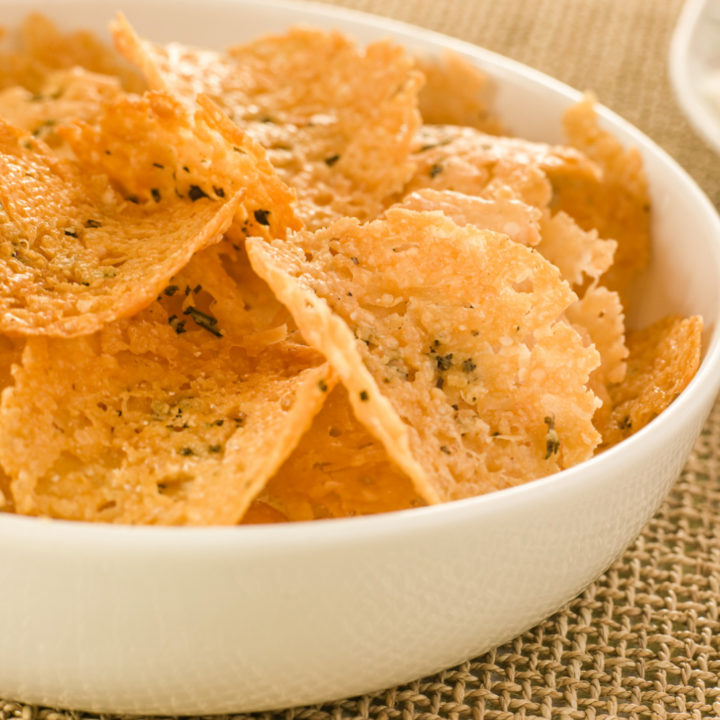
Cheese Chips (Keto & Gluten-Free)
Crunchy, cheesy, and entirely keto-friendly! These homemade cheese chips are the perfect low-carb snack for satisfying those savory cravings. With just a few simple ingredients, you can whip up a batch of these crisps in no time.
Ingredients
- 1 cup of your choice of shredded cheese or thin slices cut into 1-inch pieces
- ¼ of teaspoon of your favorite seasonings ( refer to notes below for suggestions)
- ¼ teaspoon of salt (optional)
Instructions
- Cover a large microwave-safe plate with parchment paper.
- If using cheese slices, cut them into 1-inch squares. If using shredded cheese, use about a tablespoon.
- Arrange the cheese on the plate, leaving space between the cheese to allow for spreading.
- Microwave on high for 45- 60 seconds. The timing will vary depending on the type of cheese used.
- Allow the cheese chips to cool completely to seize and become crisps.
- Store the cheese crisps in an airtight container at room temperature for up to three days.
Notes
Favorite Cheeses For Cheese Crisps
- Cheddar cheese, white or yellow (thin slices or shredded) for cheddar crisps.
- Shredded parmesan cheese (for parmesan crisps)
- Asiago
- Monterey Jack cheese
- Colby Jack
- Pepper Jack cheese thin slices or shredded)
- Mozzarella cheese (shredded)
- Thinly sliced packaged cheese of your choice
Additional Flavorings
To add some extra flavor to your cheese crisps, you can add some herbs or spices to the cheese before microwaving.
Some popular options include garlic powder, onion powder, cayenne pepper, chipotle powder, Everything Bagel Seasoning, and dried Italian spices. Be careful not to add too much seasoning, as it can overpower the cheese flavor.
Oven Instructions
Cheese chips can also be made in a traditional oven. The following are the instructions.
- Preheat your oven to 400 degrees F.
- Line a baking sheet with parchment paper.
- Arrange the cheese on the plate, leaving space between the cheese to allow for spreading.
- Bake in the preheated oven for 5-7 minutes, depending on the type of cheese used.
- Allow the cheese chips to cool completely to seize and become crisps.
- Store the cheese crisps in an airtight container at room temperature for up to three days.
Nutrition Information:
Yield: 4 Serving Size: 5 chipsAmount Per Serving: Calories: 250Total Fat: 18gCholesterol: 70mgSodium: 420mgCarbohydrates: 0.2gNet Carbohydrates: 0.2gProtein: 19g






lisapan says
One of my favs! ?
fittoservegroup says
Yup it's fast and satisfying ?