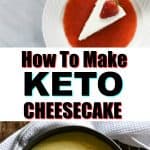
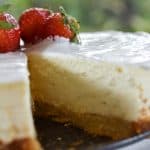
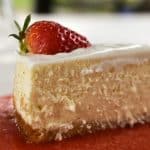
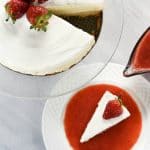
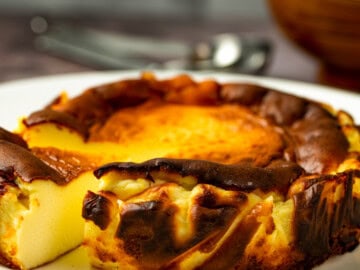
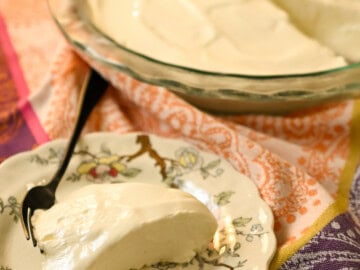
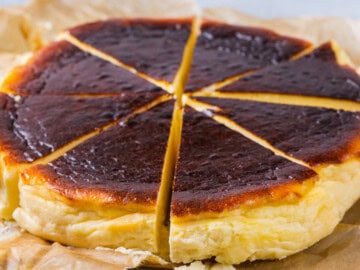
Missing cheesecake while on a keto diet? Well, I am here to tell you there is no need. With these seven tips, I will show you how to make my keto cheesecake perfectly.
A keto cheesecake recipe doesn't have to be complicated. In fact, with just a few basic ingredients and a little time set aside, you can enjoy a low-carb cheesecake without worrying about being kicked out of ketosis.
This keto cheesecake is gluten-free, sugar-free, and diabetic-friendly, yet it can rival its traditional counterparts.
Its rich, creamy texture will have you thinking you've cheated on keto.
I promise you that this low-carb cheesecake will taste just as good as the real thing. And once you learn how to make a perfect basic cheesecake, you can have lots of fun adding keto-friendly toppings to change things up.
Make sure you check out our Keto Cheesecakes for more delicious flavor and style options.
And as a fan of strawberries, you might want to also visit this collection of keto strawberry recipes for more delicious options!
Perfect Low-Carb Cheesecake
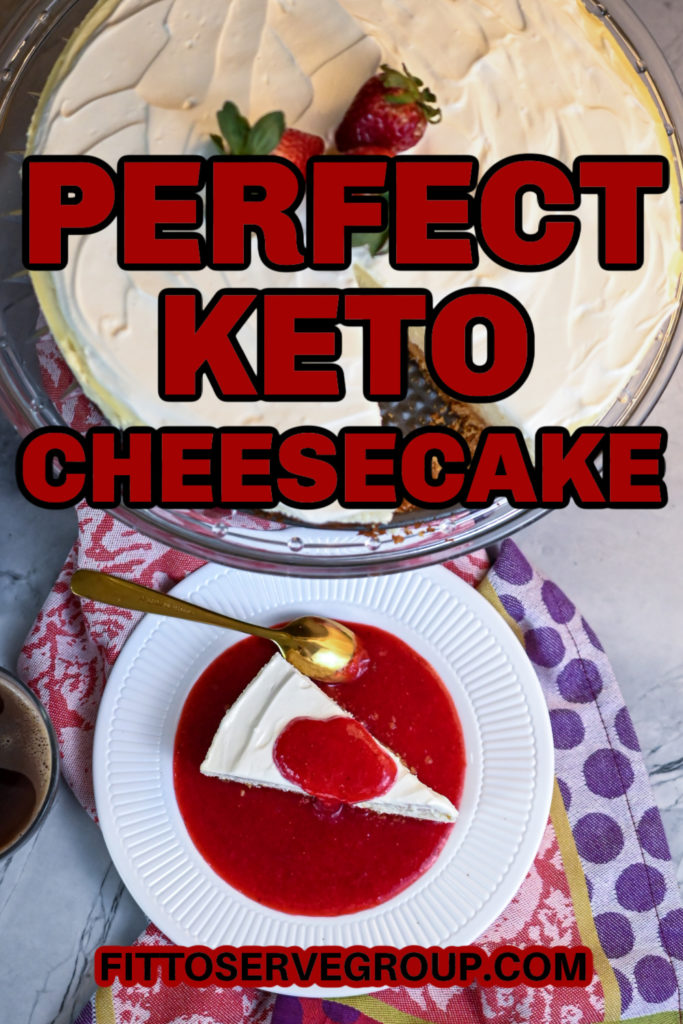
Creating a delicious keto cheesecake should be a staple in your keto baking kitchen. There is absolutely no need to be intimidated by the process of making a cheesecake that is low in carbs.
I'm going to walk you through the process and give you my seven tips for the perfect low-carb cheesecake.
My advice is to read the entire post before jumping to the recipe. Otherwise, you may skip some crucial information.
Then, once you do, make certain that you have all your ingredients and materials before proceeding. My basic keto cheesecake is pretty foolproof.
There is nothing complicated about this low-carb cheesecake, and it uses easy-to-find ingredients.
So let's get started!
Keto Cheesecake Ingredients Needed
Disclosure: Some of the links below are affiliate links, meaning that, at no additional cost to you, I will earn a commission if you click through and make a purchase.
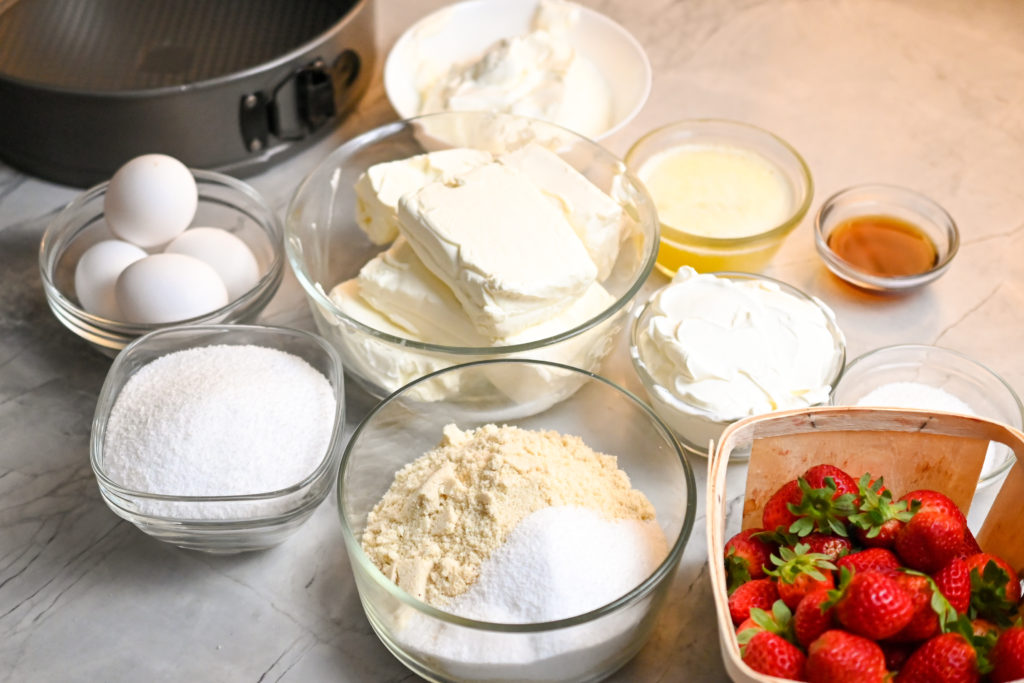
Your perfect keto cheesecake uses a few basic ingredients that are staples in every keto kitchen. Isn't it nice to know that you can enjoy a keto treat easily?
- Almond flour, finely milled
- Unsalted butter
- Sugar-substitute
- Cream cheese
- Eggs, room temperature
- Vanilla extract
- Sour cream ( for the sour cream topping)
Materials Needed To Make A Keto-friendly Cheesecake
In order to make a successful low-carb cheesecake, you will need a few items. Thankfully, these materials are also pretty standard kitchen items. Perhaps the only thing you may not have from this list is the 9-inch springform pan.
The offset spatula is a nice utensil but not a game-breaker if you don't own one. But everything else on this list is a must.
- Springform pan
- Large roasting pan for the bain-marie.
- Electric mixer, stand-up, or handheld
- Spatula
- Offset spatula
How To Make A Keto Cheesecake
7 Tips For The Perfect Keto Cheesecake Recipe
Is cheesecake keto-approved? One of the cool things about cheesecakes is that it's rather easy to convert your favorite high-carb cheesecake recipes into a keto-friendly option.
This is because regular cheesecake uses a few common ingredients favored in the ketogenic diet.
In fact, the very first recipe I ever attempted to convert when I went keto back in 2014 was cheesecake. When making a keto cheesecake, the method is very similar to how you make traditional cheesecake.
The major difference is the sweetener that is used and the fact that a gluten-free, low-carb crust must be swapped for the traditional Graham cracker crust.
Are you ready to learn my keto cheesecake tips?
Tip #1: Using Full-Fat Cream Cheese
Whatever you do, make sure you are only using full-fat cream cheese when making a ketogenic cheesecake.
Using cream cheese that has been whipped for airiness or that is low in fat will not produce good results.
Besides, you are doing a keto diet, so why would you avoid the fat anyway? The fat in cream cheese ensures that your keto cheesecake texture is rich and creamy. So embrace the fat, my friends.
Do yourself and your taste buds a favor and leave the cream cheese that comes in a tub out of this recipe. Use only cream cheese that is solid and comes in rectangular blocks. Got it?
Tip #2: Use Room Temperature Ingredients
When making a keto cheesecake, it's key that you allow your eggs and cream cheese to come to room temperature at least one hour before you begin. And if your cream cheese is still not soft at the one-hour mark, then let it sit even longer.
By taking this extra step, you ensure that the cheesecake batter mixes easily. So don't take any shortcuts.
You should be able to sink your finger into the cream cheese without any resistance when it's ready to be used.
Just like traditional cheesecake recipes call for softened cream cheese, you want the same thing when making a keto cheesecake.
If your cream cheese is too cold, when you begin to mix your batter, it will not blend well and be lumpy. By the same token, if your eggs are too cold, they won't easily incorporate into the batter.
So make sure you give yourself enough time when attempting to make a low-carb cheesecake.
Tip #3: Blend Properly
This brings me to tip number three, which is to blend your cheesecake properly. There is a fine line between mixing your cheesecake correctly and overmixing.
You want to mix your ingredients enough to avoid lumps. However, if you overmix the batter, your cheesecake will rise and then collapse in the oven, causing lots of cracks in the surface of your cheesecake.
To avoid this, I recommend you first combine your cream cheese with the sugar substitute using the paddle attachment of your stand-up mixer and not the whip attachment or with a hand-held mixer.
When adding your eggs to the cream cheese mixture, do so gently. This way, you avoid adding air to the batter, which will cause your cheesecake to rise too rapidly in the oven and then deflate shortly after.
That's why I start beating my cream cheese and sweetener at high speed and then reduce the speed to low once I am ready to add the eggs. Also, make sure you are scraping the mixing bowl several times in the process.
Remember, what you want is for your cheesecake batter to be well-incorporated and creamy. What you don't want is to cut into your cheesecake and find flecks of cream cheese that have not been mixed into the batter.
Tip #4: Use A Bain-Marie
Use a water bath, better known as a bain-marie. Some cheesecake recipes don't call for it, but if what you want is a dense, creamy texture, I recommend you do.
By using a bain-marie to make your keto cheesecake, you further ensure that it doesn't crack on the surface.
This is because this method allows your cheesecake to cook evenly by using steam instead of direct heat to cook the batter.
To make a bain-marie for your cheesecake, you will need to prep your pan first by wrapping it with heavy foil.
Otherwise, you risk your cheesecake becoming waterlogged. And nobody likes a soggy cheesecake.
By the way, you do need a springform pan to make a proper keto cheesecake. This type of pan allows you to release your cheesecake without having to flip the entire pan. It just makes things easier, trust me.
Just make sure you properly grease the sides of the pan before adding the cheesecake filling for easy cheesecake release.
And yes, grease your springform pan, even if it's "non-stick." Plus, add the foil, even if it claims to be leak-proof.
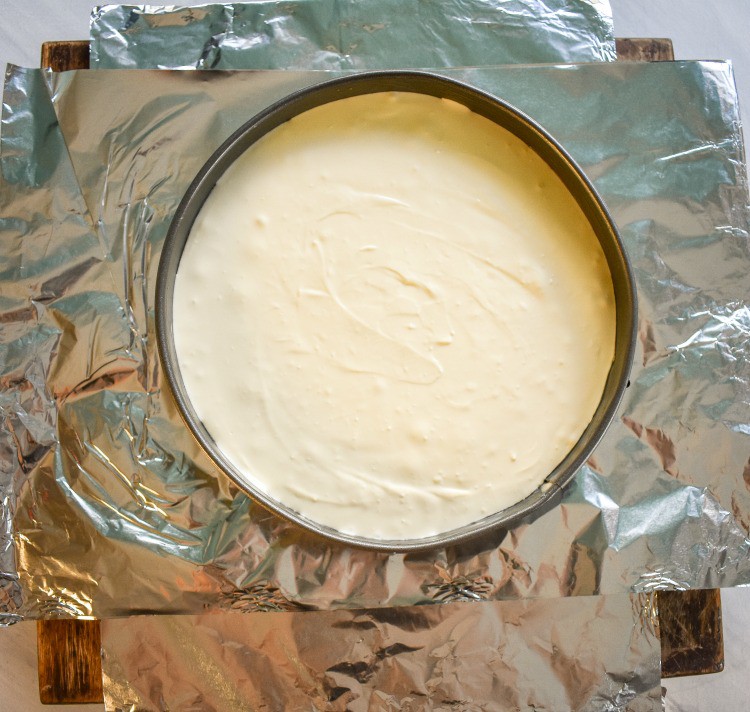
How To Make Bain-marie Properly
- Place a large kettle of water on your stove and allow the water to boil.
- While the water boils, securely wrap the bottom and sides of the outside of your springform pan with heavy-duty aluminum foil. Allow the foil to go at least ¾ of the way up the sides. Personally, I like taking the foil to the top just to be safe.
- Place your prepared and filled springform pan into a large roasting pan. The pan needs to be large enough to easily accommodate a 9-inch springform pan.
- Once the cheesecake has been placed in the oven inside the roasting pan, fill your pan with boiling water. Don't attempt to add the water to the pan outside the oven and risk getting burned when trying to move it to the oven. Then, after it's in the middle rack of your oven, place enough water to come about halfway up the sides of the springform pan.
As you can see, making a bain-marie for your cheesecake isn't really that challenging.
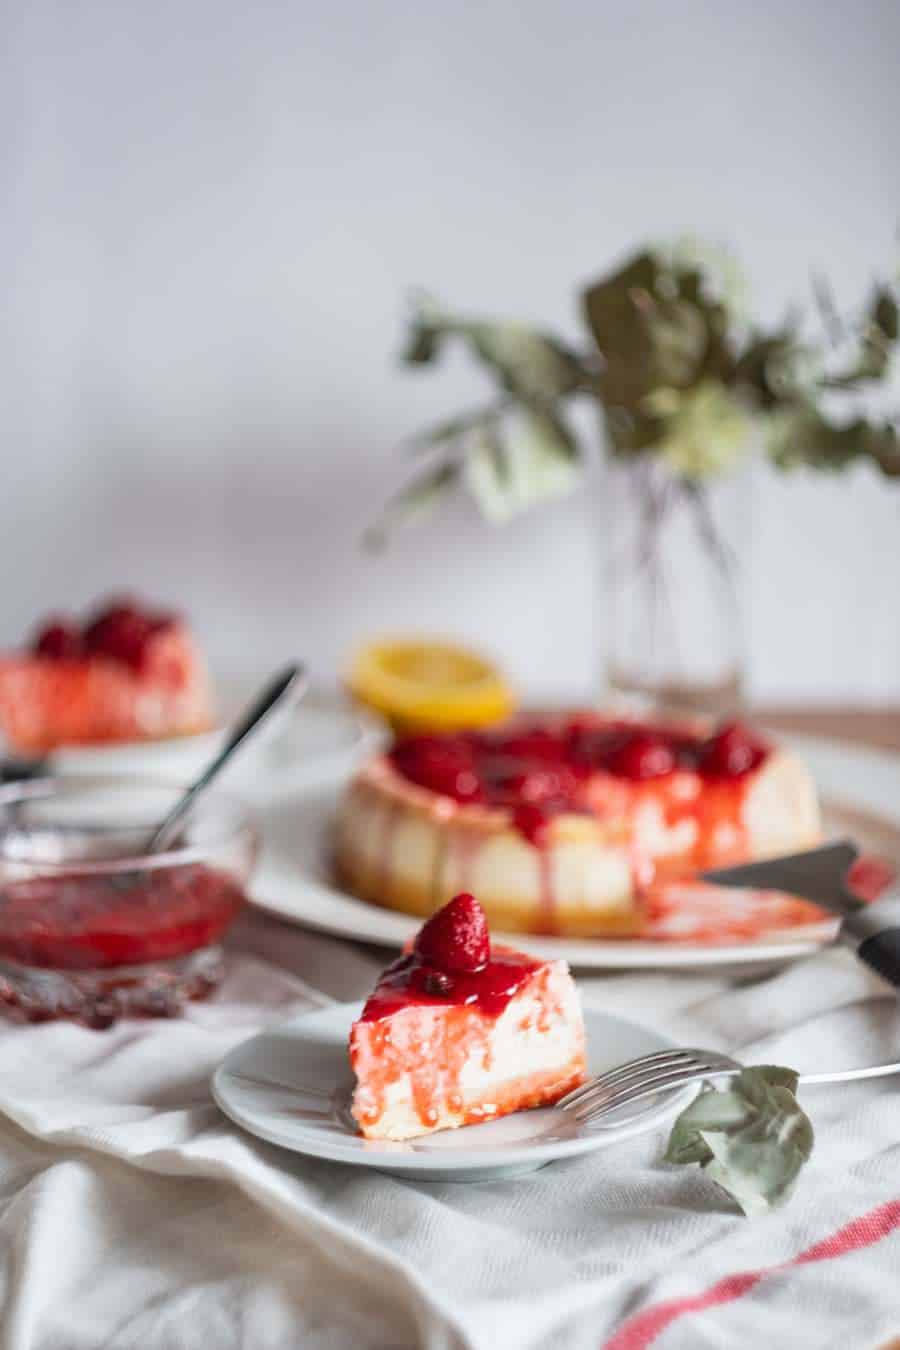
Tip #5: Do Not Over-Bake
It's important not to over bake your keto cheesecake so that the texture of the cake does not end up crumbly and to avoid cracks from forming on the surface of the cake.
You are going to bake your keto cheesecake for 60-70 minutes in a 325-degree oven.
Since you will be making the almond crust at a 350-degree oven, ensure the oven has had time to reduce in temperature before proceeding.
Once you start the baking process, check your cheesecake at the 60-minute mark.
What you want to see is that if the outside of your cheesecake is set with a center diameter of about 2 inches, it is still able to jiggle when you slightly move your pan.
If this is not the case, you can set your timer for an additional 5-10 minutes.
Note that if your center is allowed to set all the way through, you have overbaked your cheesecake. So, keeping a close eye on the final minutes of your cheesecake is important.
Unlike cake baking, where you can test for doneness by inserting a toothpick, you can't use this technique when making a cheesecake.
If you wait until then, your cheesecake will be way overbaked for sure.
Keep in mind that cheesecake is just another type of custard, so it should not be fully set in the oven. You don't want a rubbery cheesecake. We are after a velvety, smooth texture.
Would you like to save this?
But fear not, because once you remove the cheesecake from the oven, it will continue to cook internally, and it will further set as it cools on the kitchen counter and later overnight in your refrigerator.
Tip #6: Don't Poke
No peeking or poking at your cheesecake. Ok, I get that's really two tips in one, but I can't help myself. I really want you to produce a perfect keto cheesecake, so I squeezed in another tip.
What exactly do I mean by no peaking or poking? It simply means resisting the urge to open the oven while it's baking. So don't open the oven door before 60 minutes.
Because if you do so, you cause a drastic change in temperature, and this is almost a guarantee that your cheesecake will collapse and crack in the middle.
And no poking means don't prod or probe your cheesecake to check for doneness. Go back and refer to tip number 5 when it comes to checking if your cheesecake is ready.
Do the jiggle test, not the poke test. Got it? Why? Prodding your cheesecake is only going to produce an ugly hole in the center of your cheesecake.
I'm so adamant about using the jiggle test over poking that I do not even recommend you use a thermometer.
Remember, if it's firm around the edges and your cheesecake still jiggles a little in the center, it's time in the oven is done.
Tip #7: Cool Gradually
Make sure you give your keto cheesecake enough time to cool gradually. It's vital not to rush the cooling process.
The first step is to allow your cheesecake to cool in the oven. I allow my cheesecake to cool for one hour in the oven with the door ajar.
So, as you can see, there is no need to worry if your cheesecake will have enough time to set.
I recommend you use a wooden spoon to keep the oven door open.
Otherwise, someone could accidentally slam the door closed, and the loud bang can also collapse your cheesecake. Don't ask me how I know this. LOL, I just know I have experience with this happening.
Then, once the keto cheesecake has cooled in the oven, I place the cheesecake on a cooling rack and allow it to cool on the kitchen counter for another full hour.
Perhaps longer if your kitchen is still warm, this can take upwards of two hours, but it's a necessary step.
Understand that if you do not allow your cheesecake to come to room temperature before placing it in the fridge, you run the risk of condensation.
The water beads that form will not allow your cheesecake to have a creamy texture throughout the entire cake.
After your cheesecake has had plenty of time to cool to room temperature, you will need to wrap it in cling wrap and then place it in your refrigerator for a minimum of 12 hours and up to 36 hours.
I know some recipes call for a much shorter time for cooling, but in my opinion, waiting for the allotted time ensures your keto cheesecake will have the perfect texture and taste.
Those are my best tips when making keto cheesecake. Now I am going to give you more details to ensure you get the best results.
Best Sugar-Substitutes
Choosing the right sweetener for your keto cheesecake is important. Thankfully, you have a few options. Personally, I really like Lakanto monk Fruit.
In fact, as of late, it's my current favorite ketogenic-friendly sweetener.
The texture of this sugar substitute is as close to sugar as anything else I've found in the market. Plus, there is barely any aftertaste.
I'm also partial to Swerve, an erythritol blend. However, it does have a cooling aftertaste. This can be an issue for some people. In the case of cheesecake, that may not be a problem because it's a cold dessert.
You could also use the stevia and erythritol-based brand Pyure.
I think more people are sensitive to stevia's aftertaste. And I believe I am one of them. This is why I can't seem to find a stevia option that isn't quite bitter to me. But if that's not the case for you, then, by all means, use your stevia.
Just make sure to use half the amount of the stevia sweetener blend since it is doubly sweet.
Lastly, if you can't easily find a more natural sugar substitute, you can also use Splenda with great success.
I know not everyone would agree with me here, and I respect this, but in my book, it's still better than regular sugar.
Plus, I find it doesn't have much of an aftertaste. It's also more economical, so there's that too.
Something to note is that this recipe for keto cheesecake calls for 1 ½ cups of sugar substitute, which isn't a ton of sweetener for a large cheesecake.
However, you can certainly reduce this to only 1 cup if you prefer a less sweet cheesecake.
For more information on the best sugar substitutes to use on the keto diet, be sure to check out our guide.
Almond Flour Cheesecake Crust
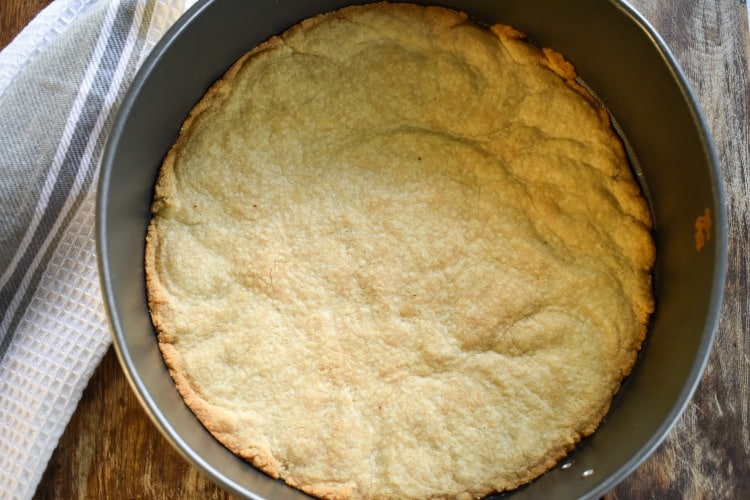
I make my keto-friendly crust by using almond flour. I use melted butter similarly to how I used to make my graham cracker crust.
To make this cheesecake crust, you'll need to add melted butter to a mixture of almond flour, salt, and sugar substitute. Then, quickly combine the mixture and press the crust into a lightly greased 9-inch springform pan.
This recipe gives you a nice layer of almond crust, and the texture further enhances the flavor of the cheesecake.
I use the bottom of a glass cup to gently press the crust into the springform pan. This helps create an even layer of crust.
You'll be baking the crust without the cheesecake batter in a preheated oven at 350 degrees for about 15-20 minutes. Or until the crust firms up and it's lightly browned around the edges.
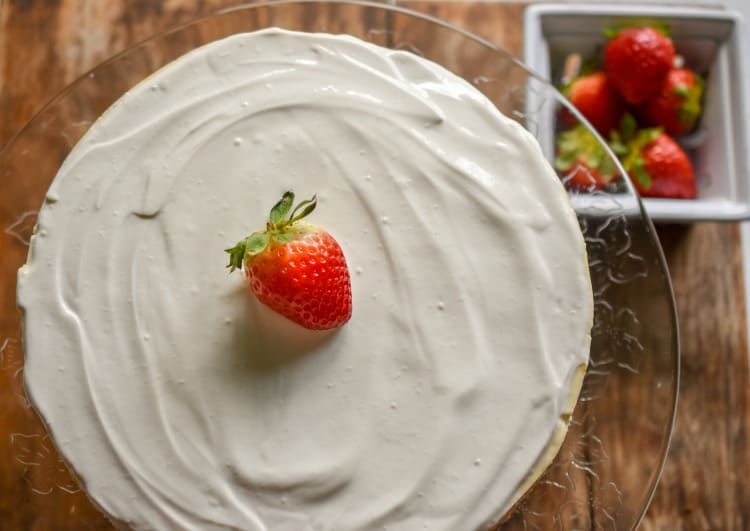
Keto Sour Cream Cheesecake Topping
I think I've given you plenty of tips to make sure your cheesecake is virtually crack-proof. However, sometimes cracks happen anyway. But that's ok because I have a tasty solution for this. It's my recipe for keto sour cream topping.
Not a lot of recipes use this traditional topping, but honestly, cracks or no cracks, I recommend you add it to your keto cheesecake.
This low-carb sour cream topping is made simply by using fresh sour cream and lightly sweetening it with your favorite sugar substitute and a hint of vanilla.
You will make and spread this topping right before you present your cheesecake. The topping adds a nice refreshing tang and complements the cheesecake perfectly.
Plus, it hides any imperfections the top of the cheesecake may have. That's a win-win in my book.
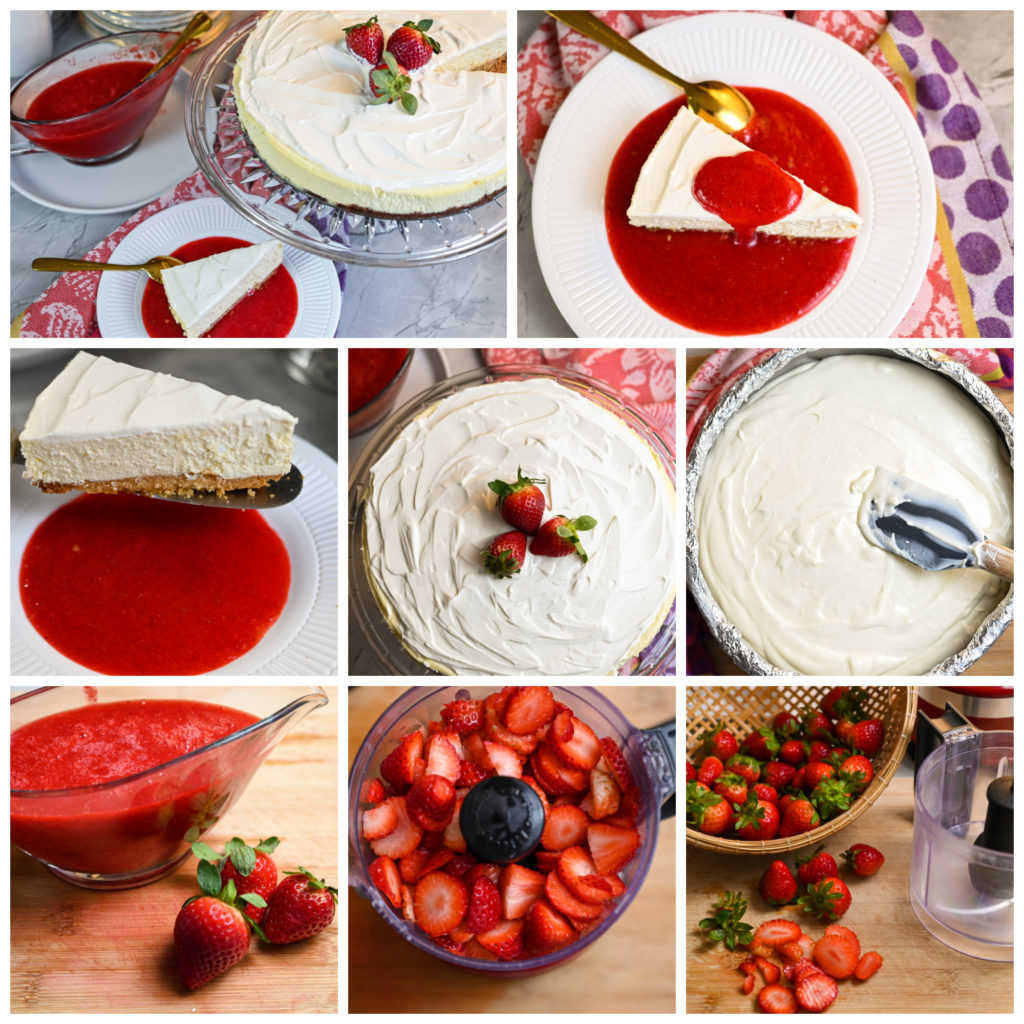
Fresh Strawberry Sauce
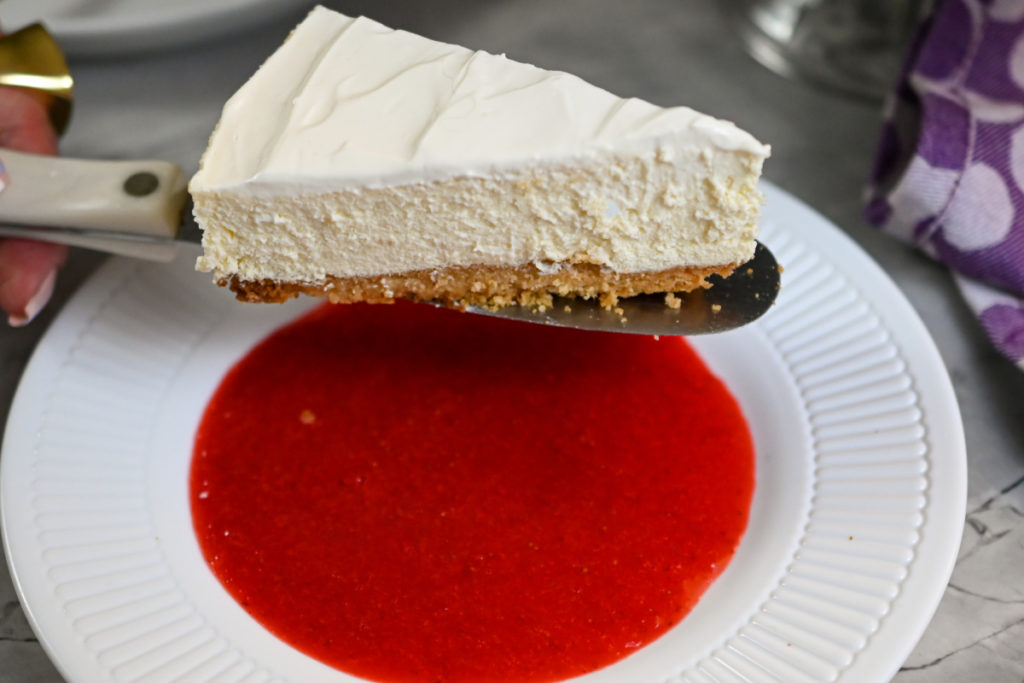
I decided to share my fresh strawberry sauce along with my low-carb cheesecake because it's such a classic combination.
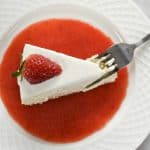
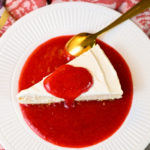
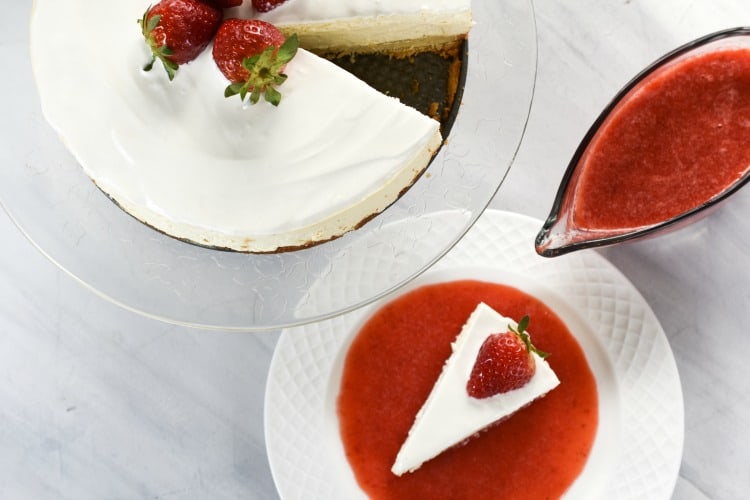
The sauce is totally optional. Look how beautiful your cheesecake will look on top of freshly pureed strawberries.
You only need a pound of strawberries, two tablespoons of your favorite low-carb sweetener, and a food processor to make this same lovely sauce.
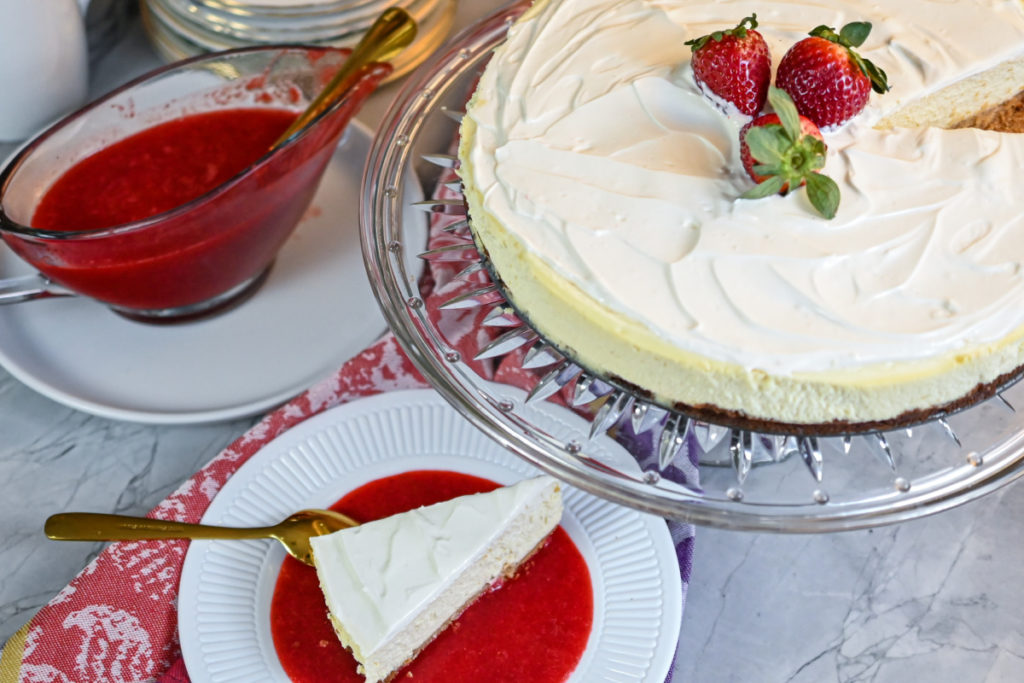
I choose to make my sauce the day I unwrap my cheesecake after it's been chilled properly. I add two tablespoons of this strawberry sauce to each dessert plate and then place a slice of keto cheesecake on top of the sauce.
Tag Us
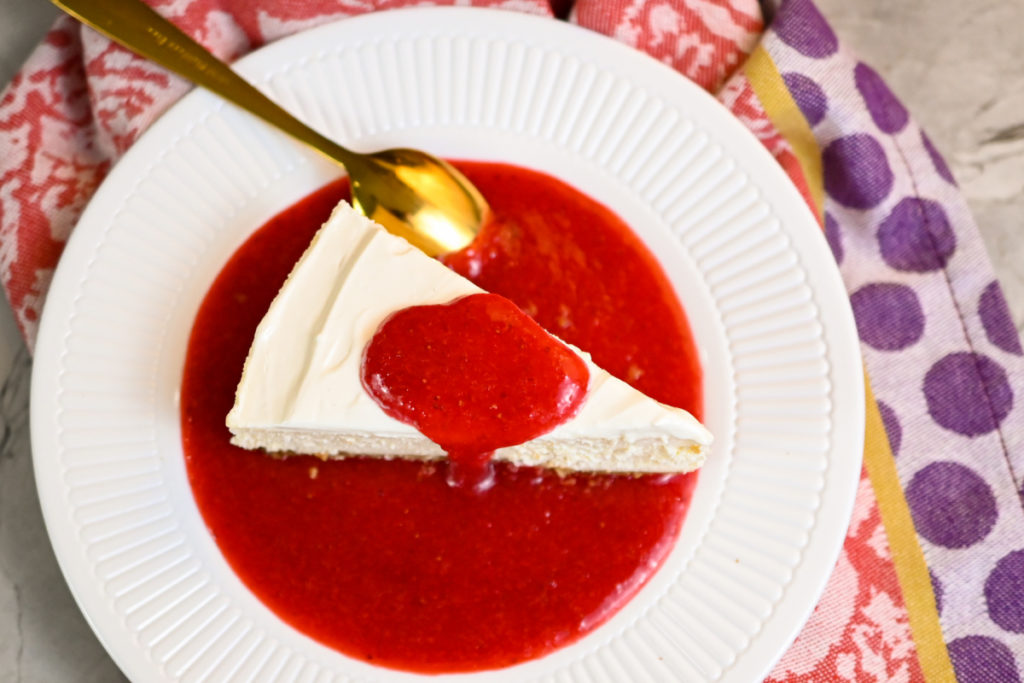
I sure hope you will give this classic keto cheesecake recipe a try. Once you do, make sure you remember to tag us on Instagram and Facebook. It's what keeps this girl encouraged to keep sharing and perfecting her recipes.
Join Our Jesus And Keto Movement
Looking for an online support system to help you stay on keto? As a family, we came to the keto diet, looking at it from a Christian perspective. As believers, we live our lives supported by God's grace.
So when the Holy Spirit led us to combine our Christian faith and the keto diet, we did so in hopes of finding lasting transformation. When we followed the Holy Spirit's prompting, we got on the path to real transformation.
Knowing firsthand the benefits of this decision, we have created a closed Christian group that is using the keto diet to transform their lives. We invite you to join our Private Facebook Group and see if it's not the key you have been missing.
Be sure to request our FREE Jesus and Keto E-Book (First 7 Days). We hope it blesses you.
Grab Our Books & APP
In case you don't know, we have authored two books for you, Essential Keto Bread and Essential Keto Desserts, both inspired by your requests over the years.
It's my prayer these keto cookbooks will help make keto a delicious breeze for you.
Gain access to simple and delicious recipes for breakfast, lunch, dinner, snacks, and even desserts with our FITTOSERVEGROUP APP.
Fittoservegroup Keto App
Looking for a fast way to access our keto recipes? We've got you covered. There's an app for that. Yup, there's a Fit To Serve Group App, and it's going to make your keto diet a delicious breeze!
Access hundreds of recipes that are all sugar-free, gluten-free, and keto-friendly.
Enjoy early access to recipes on the website before they go live. Plus, bonus recipes that are exclusive to the app. Make your own personal cookbooks that you can use to organize your favorite recipes.
Search recipes by title, ingredients, keywords, and categories, and of course, every recipe shows complete nutritional facts. Get the Fit to Serve Group App for easy-to-follow keto recipes made with easy-to-source ingredients.
The app is loaded with hundreds of yummy recipes for breakfast, lunch, dinner, snacks, and even desserts!
Learn more by visiting our Fit To Serve Group App Page.
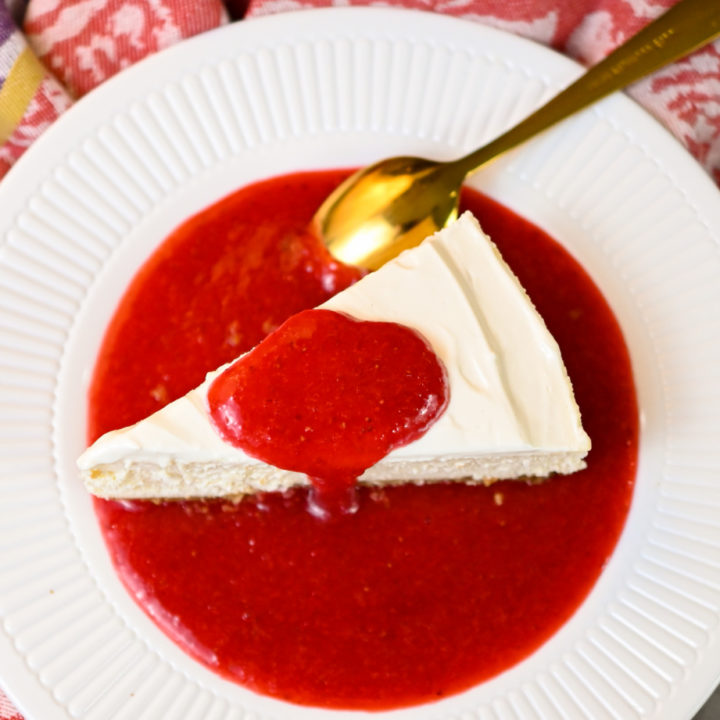
Perfect Keto Cheesecake (Gluten-Free)
This delicious keto cheesecake recipe is the low-carb version of the classic cheesecake. This basic low-carb cheese is sugar-free, grain-free, gluten-free, and keto-friendly. With 7 easy tips, you can create a perfect keto cheesecake every time!
Ingredients
Keto Almond Flour Crust
- 2 cups of finely milled almond flour
- ½ cup of melted unsalted butter
- ¼ cup of sugar substitute
- ½ teaspoon of sea salt
Keto Cheesecake
- 32 ounces (4 blocks) of full-fat cream cheese, room temperature
- 1 ½ cups of sugar substitute
- 4 large eggs
- 1 teaspoon of vanilla extract
- ¼ teaspoon of sea salt
- 16 ounces of full-fat sour cream ( 2 cups)
Keto Sour Cream Cheesecake Topping
- 1 ½ cups of sour cream
- 3 tablespoons of sugar-substitute
- ½ teaspoon of vanilla extract
Keto Fresh Strawberry Sauce
- 1 pound of fresh strawberries washed and hulled
- 2 tablespoons of sugar-substitute
Instructions
Keto Almond Crust
- Pre-heat oven to 350 degrees.
- Lightly grease the bottom of a 9-inch springform pan.
- Melt the ½ cup of butter.
- In a medium-sized bowl add 2 cups of almond flour, sugar-substitute, sea salt and combine the dry ingredients well.
- Add the melted butter and combine mixture until fully incorporated. Mix with a wooden spoon or spatula.
- Once combined add the almond mixture to the bottom of the springform pan. Use the bottom of a glass cup to press the mixture evenly to the pan.
- Bake the crust in the preheated oven for 20-25 minutes until the crust is lightly browned.
- Allow the keto almond crust to cool completely before adding the cheesecake batter.
Keto Cheesecake
- Allow 32 ounces of cream cheese and 4 large eggs to come to room temperature for a minimum of one hour.
- Pre-heat oven to 325 degrees.
- In a large stand-up mixer or a large mixing bowl using an electric handheld mixer beat softened cream cheese and sugar substitute at a high setting. Combine until well incorporated.
- Next, reduce the speed of the mixer to medium-low speed and then add the 4 whole large eggs one at a time. Stop and scrape the bowl at least two times to make sure the batter is mixed properly.
- Then add vanilla extract, sea salt, and the 16 ounces of full-fat sour cream. Combine the mixture until the batter is fully incorporated and velvety smooth. This may take about 5 minutes. Make sure you stop and scrape the bowl a couple of times during this process.
- Lightly grease the sides of the springform pan with the baked almond crust.
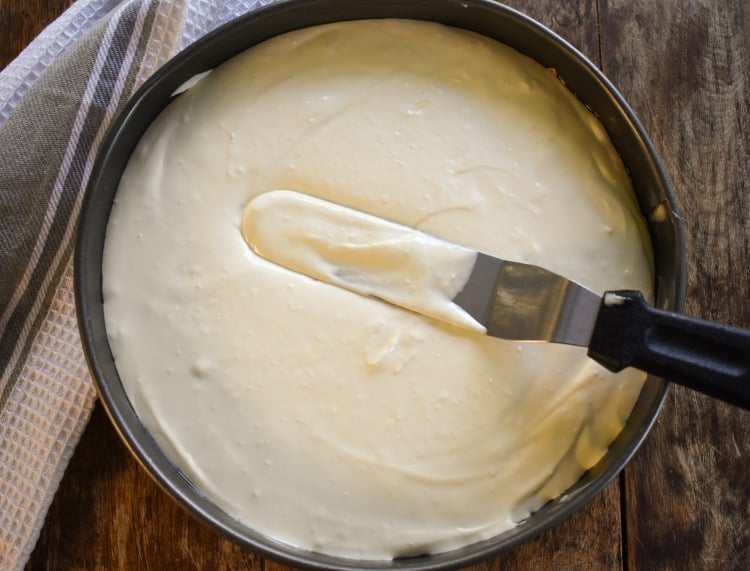
- Pour the combined cheesecake batter into the cooled almond crust. Using an offset spatula evenly spread the top of the cheesecake batter.
Bain-Marie
- Securely wrap the cheesecake pan with two large pieces of heavy-duty aluminum foil. To do so I lay one piece of aluminum foil vertically and then stack another piece of foil horizontally. I then bring up the foil up the sides of the pan making sure the bottom and sides are tightly wrapped in foil. This is in preparation for the bain-marie.
- Place your springform pan in a large roasting pan that is large enough to accommodate the pan without touching the sides.
- Next, carefully pour boiling water into the roasting pan until the water reaches half-way up the sides of the springform pan.
- Bake your cheesecake for 60-70 minutes until cheesecake is set around the edges yet the center diameter (about 2 inches) of your cheesecake is still able to jiggle when you slightly move your pan.
- Do not over bake your cheesecake. It will continue to set as it cools.
- After the cheesecake is baked allow it to cool in the oven for one hour with the oven door slightly ajar.
- Then place your cheesecake on a cooling rack and allow the cheesecake to further cool on the kitchen counter for at least another 60 minutes. It's key that the cheesecake is completely cool before storing in the refrigerator.
- Once your cheesecake has been allowed to cool on the kitchen counter, Run a knife around the springform pan and release the cheesecake.
- Next, carefully wrap the cheesecake with plastic cling wrap and allow the cheesecake to sit in the refrigerator for at least 12 hours and up to 36 hours before serving.
Keto Sour Cream Topping
- Combine the 16 ounces of full-fat sour cream, sugar substitute, vanilla extract in a small bowl. Stir until the topping is fully incorporated.
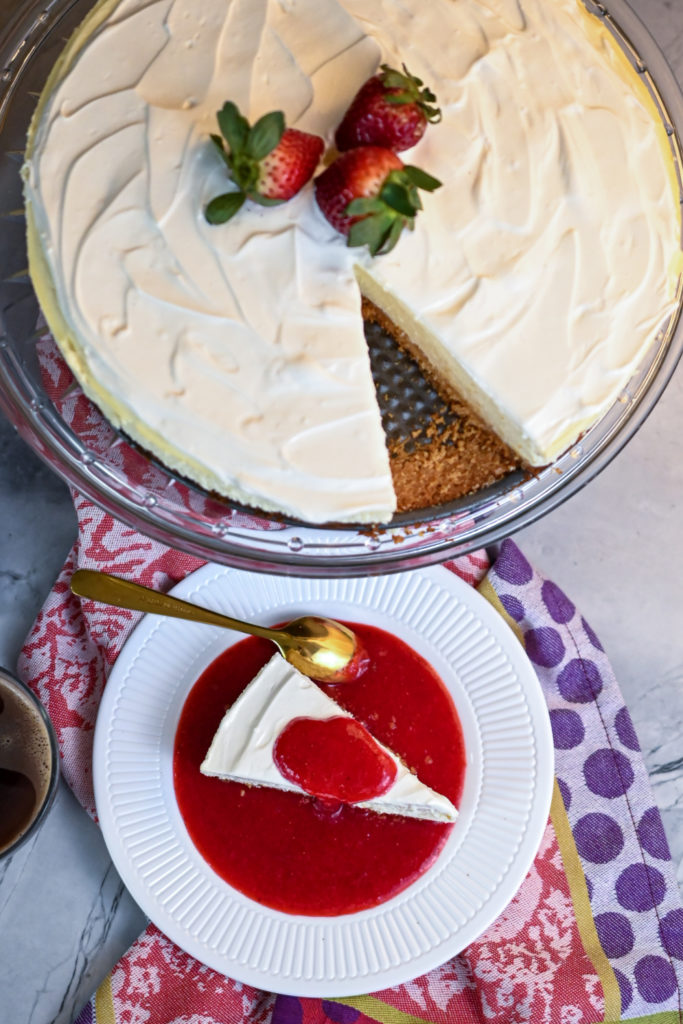
- Top the Keto Cheesecake with the sour cream topping right before the cheesecake is ready to be served and decorate with a few whole strawberries.
Fresh Keto Strawberry Sauce
- To make the keto strawberry sauce you will need puree a pound of fresh strawberries with the sugar-substitute. I use a food processor to ensure the strawberries blend perfectly.
- Keep your sauce refrigerated until serving.
Notes
The fresh strawberry sauce is not calculated into the nutritional label. The sauce makes 14 servings and would add 1.8 net carbs per two tablespoons.
Nutrition Information:
Yield: 14 Serving Size: 1Amount Per Serving: Calories: 518Total Fat: 50.5gSaturated Fat: 26.8gCholesterol: 167mgSodium: 289mgCarbohydrates: 7.7gFiber: 1.7gSugar: 0.9gProtein: 12g

